
How to Install a Polyurea Concrete Coating, Step by Step
2018-10-31
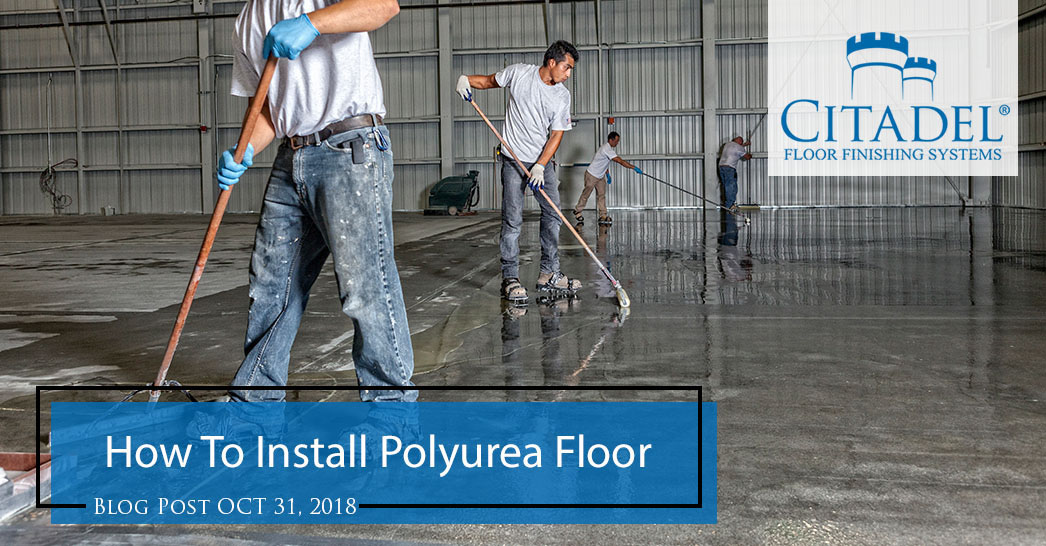
Here are expert tips on how to install a polyurea floor:
Before you begin: Train.
First things first: get your team trained. Having a standard, repeated process ensures that your installers will get it right, every time; training ensures that. When possible, train directly with the manufacturer, preferably in-person at their facility, so you can get answers from the source on specific product questions, as well as hands-on experience.
Step 1: Prepare the surface.
Removing laitance, sealers, and contaminants from the concrete surface is critical to the installation�s success. Good surface prep allows the coating material to properly penetrate and adhere to the surface. Choose the preparation method appropriate to the project, often mechanically profiling to get through the paste surface layer and open the pores of the concrete, through a shot blast, diamond grind or scarifying process.
Step 2: Repair cracks and joints.
Once the surface has been properly prepared, cracks and joints can be repaired. We recommend using polyurea-based material for repairs for superior flexibility and unsurpassed cure speed. Sand or pea gravel can be added to a fortification formula to extend the material�s volume and act as a filler for repairing large spalls, holes, and cracks. This Concrete Network article author recommends, however, for contraction joints, don't fill the joint: �We coat down into it and back out, because if you tie the joint, it can crack the slab at mid-panel."
Step 3: Apply the primer.
Squeegee on the recommended number of coats/thicknesses per the manufacturer�s instructions. The primer coat may be colorless like Clear Eco-Prime or pigmented, such as Polyurea 350 with Color Tint. Depending on the flooring system chosen, you may not need a separate primer; our 350 product works as both primer and base coat. Or, installation can be as simple as applying a tinted primer followed by a clear coat (as in our solid color system), so you can skip to step 5. Otherwise, proceed to Step 4.
Step 4: Roll the �bed� layer.
Within 2-4 hours depending on temperature, the primer will have cured enough to walk on. The second coat is then applied for systems that incorporate additional layers: for example, metallic or Medici systems; or chip or garage floor systems.
For floors with vinyl chips or quartz sand, the material is immediately broadcast into this second, �bed� layer. With polyurea, chips wet out to form a layer parallel to floor for a laminar effect that helps in the overall protection of the concrete and durability of the coating. (Epoxy has a much higher viscosity, so chips tend to lay on edge.)
Step 5: Apply the top coat.
Once the previous coat has cured, "We scrape it hard with a floor scraper to clean up the vinyl chips,� recommended this author. �That makes it smoother and also reduces the amount of product needed in the top coat to cover the vinyl chips." Once scraped, installers vacuum any loose materials before applying the top coat with a flat blade squeegee.
Due to the fast cure speed of polyurea, all of this can be accomplished in a single day. Typically, the new floor is ready for foot traffic within 4 to 6 hours and for vehicle traffic within 24 hours.
Installing an unfamiliar system or adding new team members who need training? We can help. Schedule a call with one of our flooring experts today.
Latest News
How to Maintain Your Concrete Grinder
Gain Customers and Referrals in 4 Easy Steps
Ready for the Summer Rush? 4 Ways to Prepare
6 Cold Weather Safety Tips for Installers
How to Remove Salt Stains from Concrete

Testimonials
Every time I call I get to talk to someone, and I always have an answer within 20 minutes. That's awesome.
Client: Terry C.