Tiny Bubbles: For Your Champagne, Not Your Concrete Coating
2018-12-05
With the holiday season nearly upon us, we�ll have more than one opportunity for a celebratory toast, fizzy drink in hand � whether it�s a flute of champagne, an ice-cold beer, or sparkling water. Hey, in our glasses, bubbles are welcome.
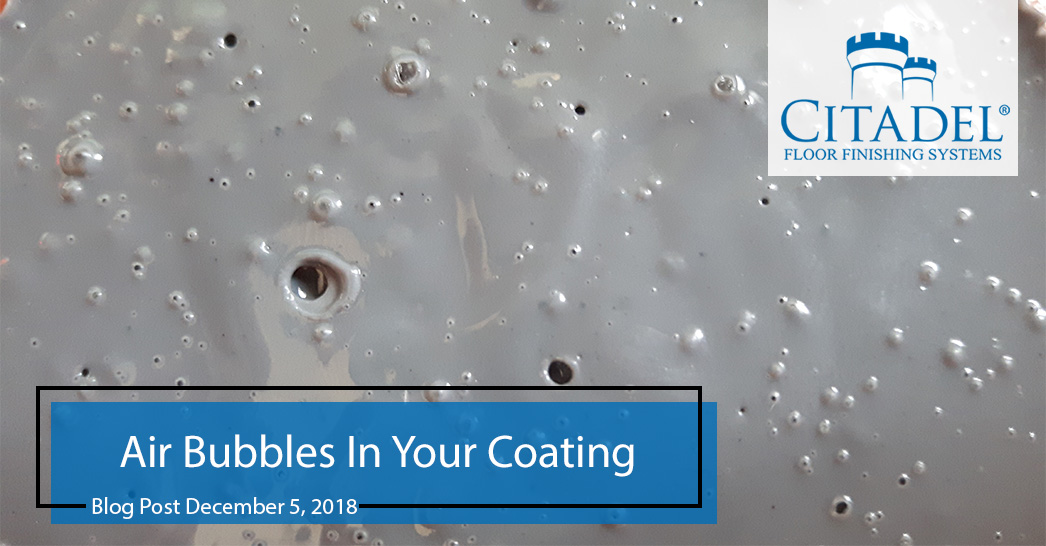
In our floor coatings? Not so much. As a professional, you want a smooth, flawless finish. And your clients want the same! So when bubbles or craters from bubbles appear in a coating�s surface, marring a coating�s final result, it can be disappointing and frustrating. They can range in size from as small as the head of a pin to as large as 1" in diameter, scattered individually over the coating or in honeycomb clusters.
So, what causes these pesky bubbles? The results of trapped air, bubbles are typically caused by one of the following:
1. Outgassing
When a coating is applied over a porous concrete surface, outgassing occurs when the coating begins to heat up or �exotherm� as it cures. As the coating increases in temperature, cooler entrapped air in the substrate expands and rises into the coating, creating bubbles. Concrete is naturally porous, so how to prevent this condition?
When this concrete company saw that tiny air bubbles had formed after primer was applied due to outgassing, they lightly sanded the floor and reapplied a second, high-build coating. With the proper equipment, sufficient product, and knowledge, bubbles from outgassing can be remedied.
2. Air flow across the coating
Excessive air movement from open doorways, HVAC units, fans, or the like, can agitate the coating as it cures, causing bubbles to form. Creating a well-ventilated work area, while taking care to prevent unnecessary or forceful air flow, can prevent bubbles from forming in the coating.
3. Elevated temperatures
When air, surface, and/or material temperatures are extremely high during installation, the coating may cure too quickly and �skim over,� entrapping air below the coating�s surface. Even though one of the competitive advantages of polyurea is that it installs at a wide range of temperatures, take care not to install outside the range of acceptable temperatures at their highest extremes. Consider surface and material temperatures as well as the temperature of the air.
4. Improper mixing
When components are mixed too aggressively, such as with a drill spinning at a speed greater than 600 RPM, unwanted air can be forced into the liquid coating components as they are being combined. Here�s an easy preventative tip: Don�t do that. Be sure to mix your coating at no more than 600 RPM.
5. Moisture vapor
Bubbles or blisters that appear on the surface of a cured coating can also be caused by moisture vapor transmission (MVT) or "hydrostatic pressure" passing through the pores of the substrate and into the coating. To prevent this condition, be sure to test for excessive moisture before installing your coating and taking any moisture mitigation measures should the level of moisture prove too high.
6. Application technique
Using the wrong tool or technique can leave you with a less-than-desirable result. It is extremely important to utilize proper installation techniques and purchase the correct application tools when applying a floor or wall coating system. Make sure your team is properly trained and equipped for the installation.
Doing your best to avoid those tiny bubbles and still seeing them ruin your concrete coating�s surface? Schedule a chat with one of our flooring experts, get your team in for training, or see our materials in action at the upcoming World of Concrete.
Latest News
How to Maintain Your Concrete Grinder
Gain Customers and Referrals in 4 Easy Steps
Ready for the Summer Rush? 4 Ways to Prepare
6 Cold Weather Safety Tips for Installers
How to Remove Salt Stains from Concrete

Testimonials
Every time I call I get to talk to someone, and I always have an answer within 20 minutes. That's awesome.
Client: Terry C.